You can add a table to your content wherever required. The Document! X provides the ability to easily insert and modify tables in your help Topics.
Table Editing Fundamentals
Creating a Table
To insert a new table:
- Select Insert Table option on the Content Authoring tab.
A dialog box appears to specify the number of initial rows and columns.
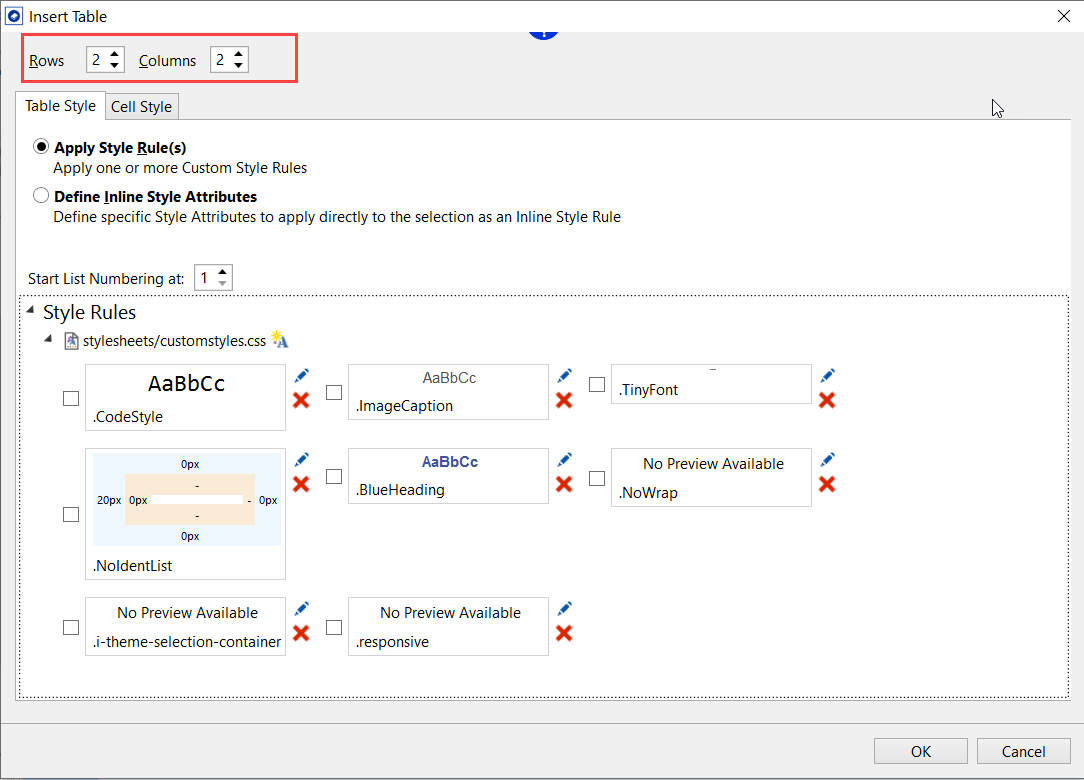
- Specify the number of rows and columns in the Rows and Column field.
Optionally, you can also select or define a new style to the new table and cells.
- Select OK to create the table.
Selecting Rows
To select an entire row, position your mouse over the left-most border at the edge of the row. The cursor changes to a right pointing horizontal arrow. Once you have this cursor, click once to select the row. To select multiple rows, hold down Control as you click to preserve existing settings, or hold down Shift to select all rows between the currently-selected row and the clicked row.
Selecting Columns
Selecting columns is very similar to selecting rows, the difference being you hover your mouse on the top-most border at the upper edge of the column. The mouse cursor changes to a downwards pointing vertical arrow. Click to highlight the column, or use the Control or Shift keys as mentioned above to selected multiple columns.
Selecting Cells
To select a cell, move the mouse to the lower portion of the left-most cell border. The mouse cursor changes to an up-right pointing arrow. Click to select the cell. As with other selection methods, you can use Control and Shift to select multiple cells.
Adding New Rows
To add a new row to a table:
- Position the cursor at the last cell of a table.
- Select the Tab key on the keypad.
A new row is placed at the end of the table.
Alternatively, you can also select  Insert Row Before or
  Insert Row After button in the table editing toolbar to insert a row before or after the current cursor position. This toolbar appears when you right-click within the table.
Adding New Columns
To insert a column, position the cursor in the cell where you want the new column to be inserted. Then click the  Insert Column Before or
  Insert Column After button on the table editing toolbar.
Deleting Existing Rows
To delete one or more rows, select them using methods outlined above and select  Delete Row on the table editing toolbar.
Deleting Existing Columns
To delete one or more columns, select them using methods outlined above and select  Delete Column on the table editing toolbar.